
The Smart Home Material Pack
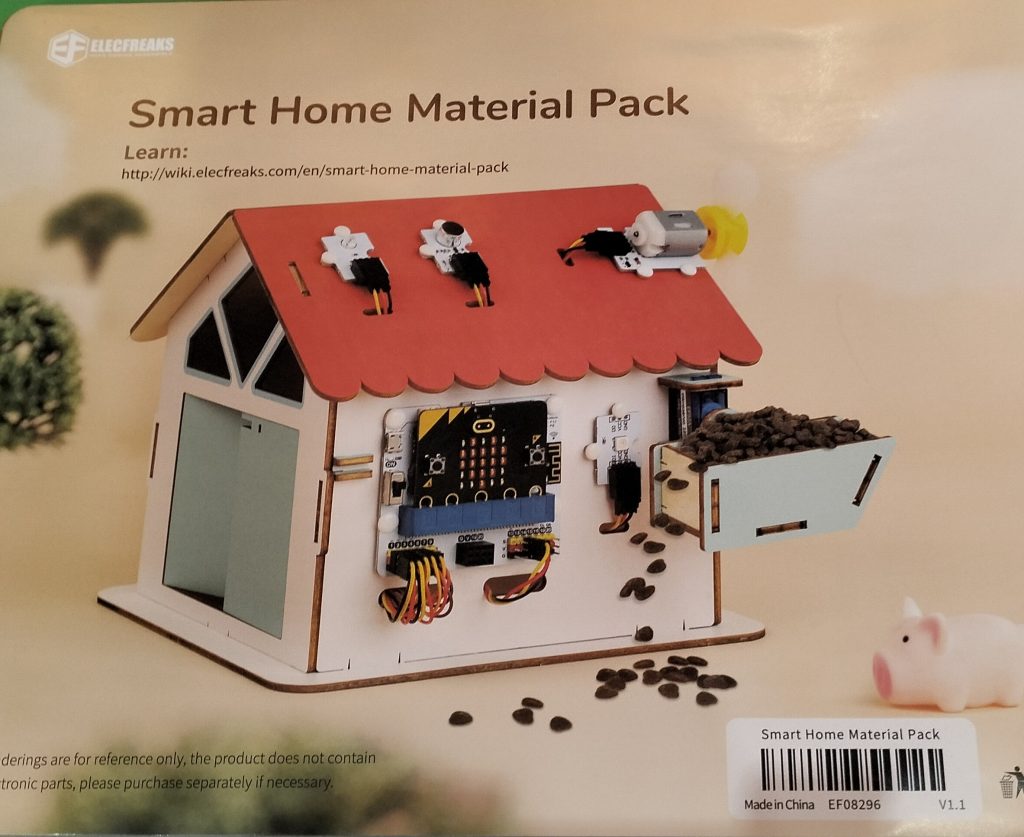
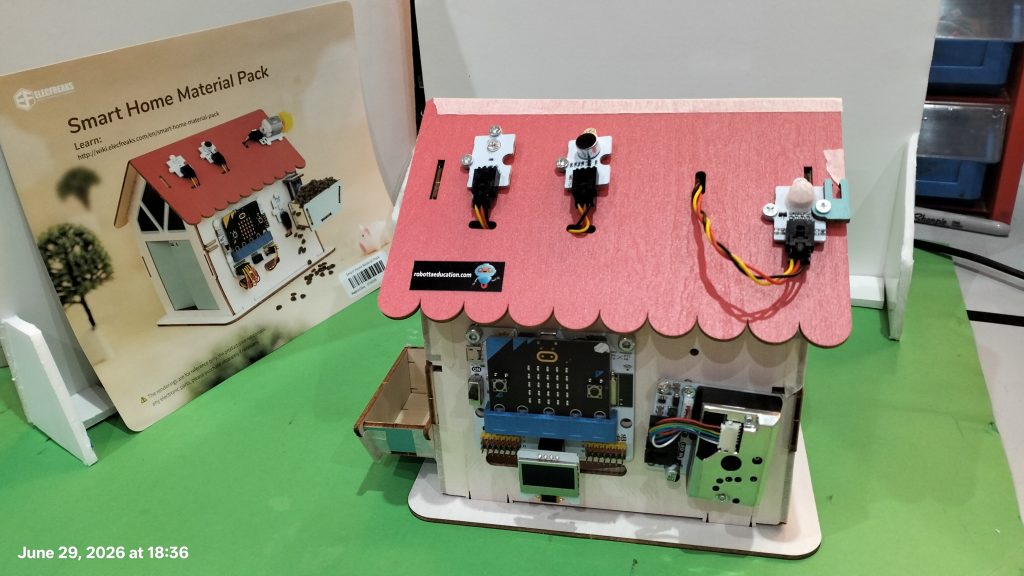
La casita inteligente que hemos recibido de la Consejería de Educación es un elemento que nos ayudará a tomar conciencia de la cantidad de automatismos y elementos que pueden gobernar una casa.
Este pack de Smart Home, viene con el Kit de Smart Home de Elecfreaks, pero el Kit que hemos recibido de la Consejería no es el Smart Home, sino el IoT Smart Science. Este kit está muy bien, incluso hace más cosas, ya que se puede conectar a la wifi del colegio y darmos los datos telemáticamente.
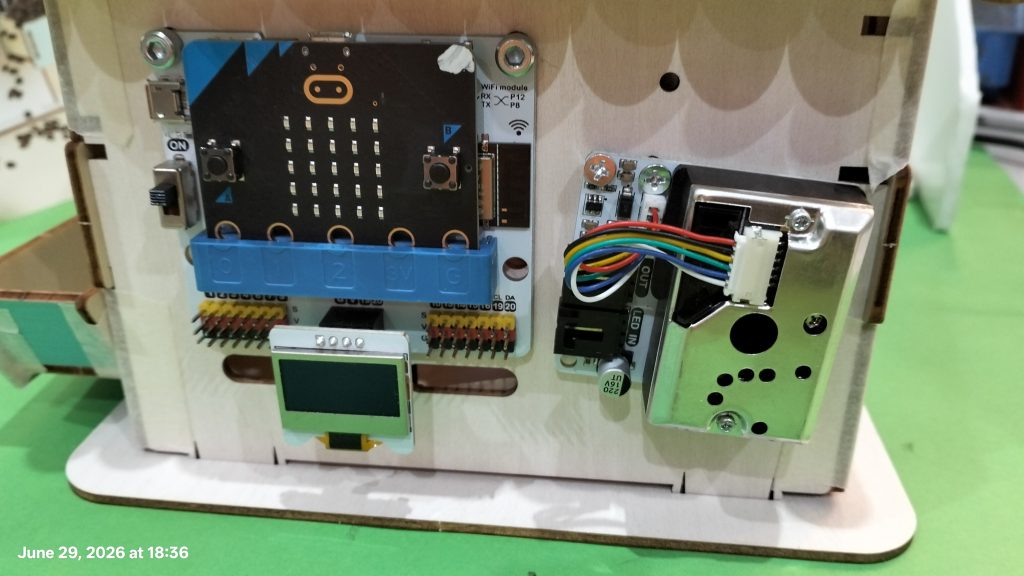
El inconveniente, es que los agujeros de la casita no “cuadran” con los del Smart Science IoT sino con los del Smart Home. Así que tenemos que adaptar el kit que tenemos a la casita. Olvidate de seguir ningún tutorial en internet.
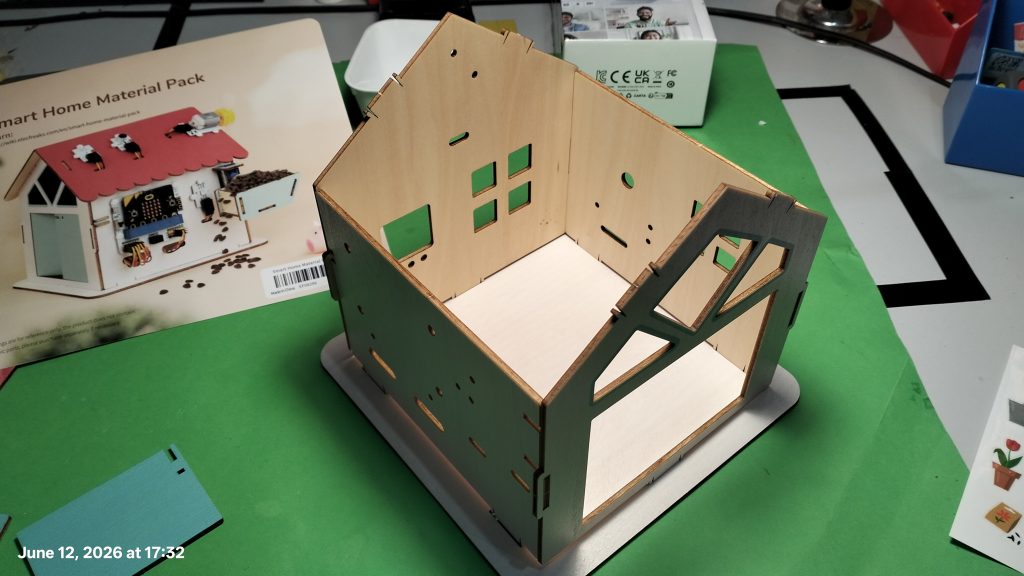
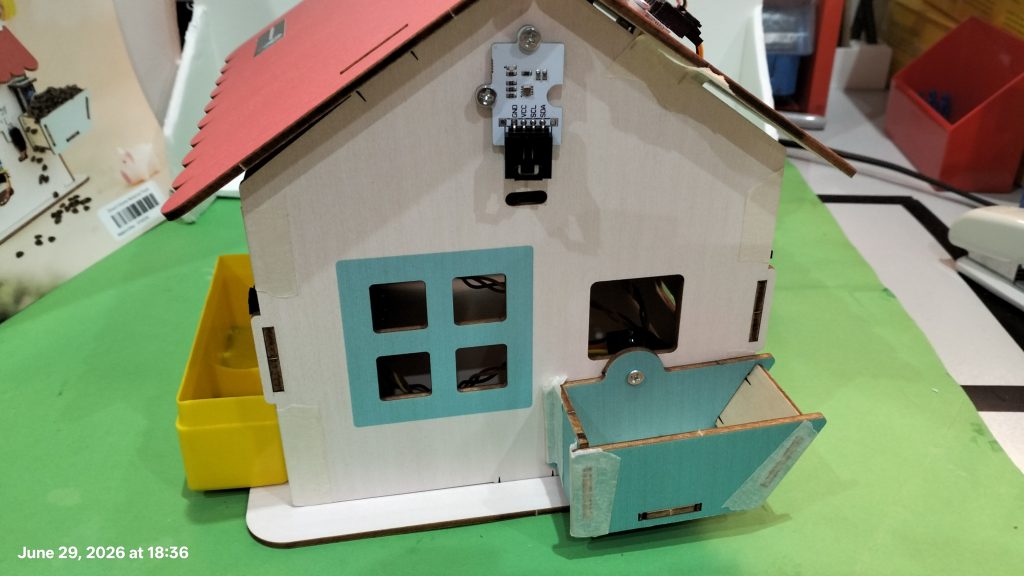
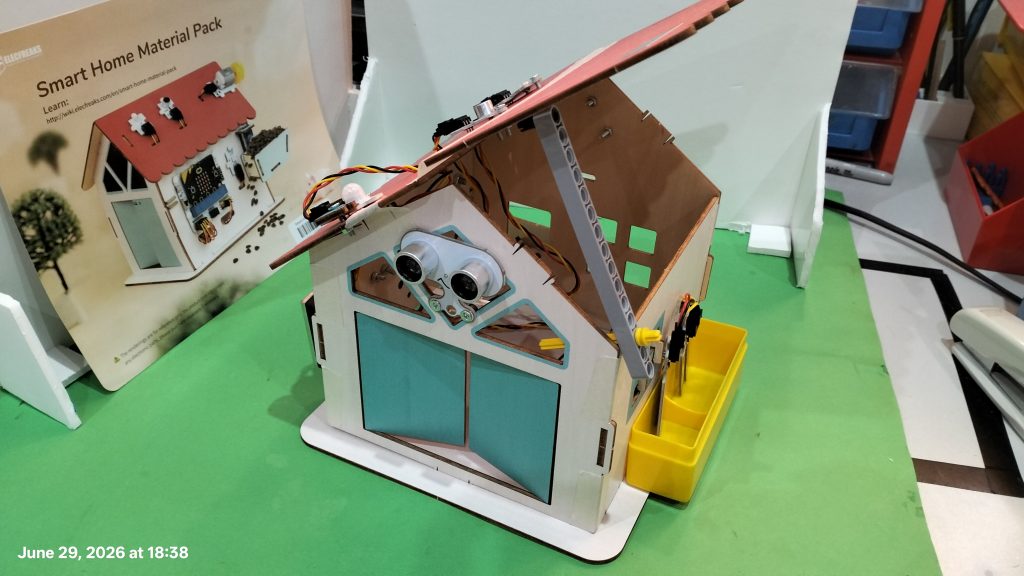
Por un lado, yo recomiendo no armar la casita definitivamente. Puede que tengamos una completa como ejemplo o como exhibición, pero el resto, yo la haría desmontable, para que los alumnos la monten y la desmonten cientos de veces. Para ello, yo he fijado los paneles con ccinta carrocera. Los mantiene en su sitio y luego se puede desmontar facilmente.
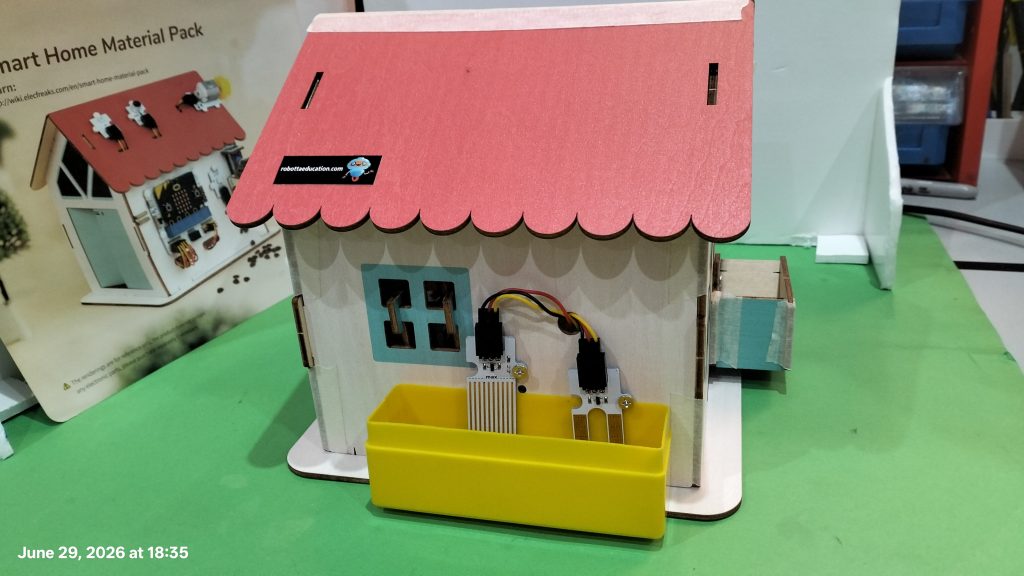
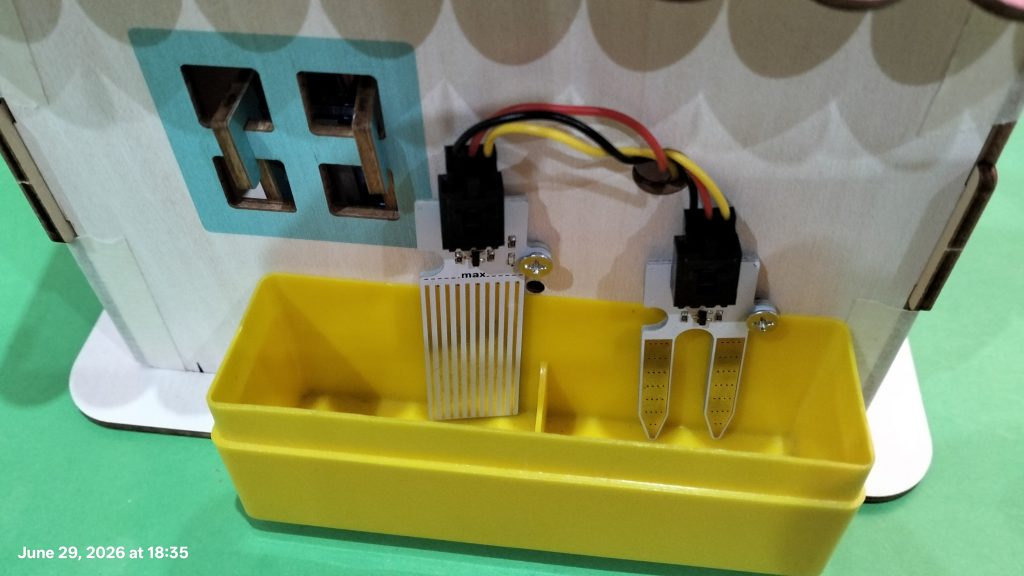
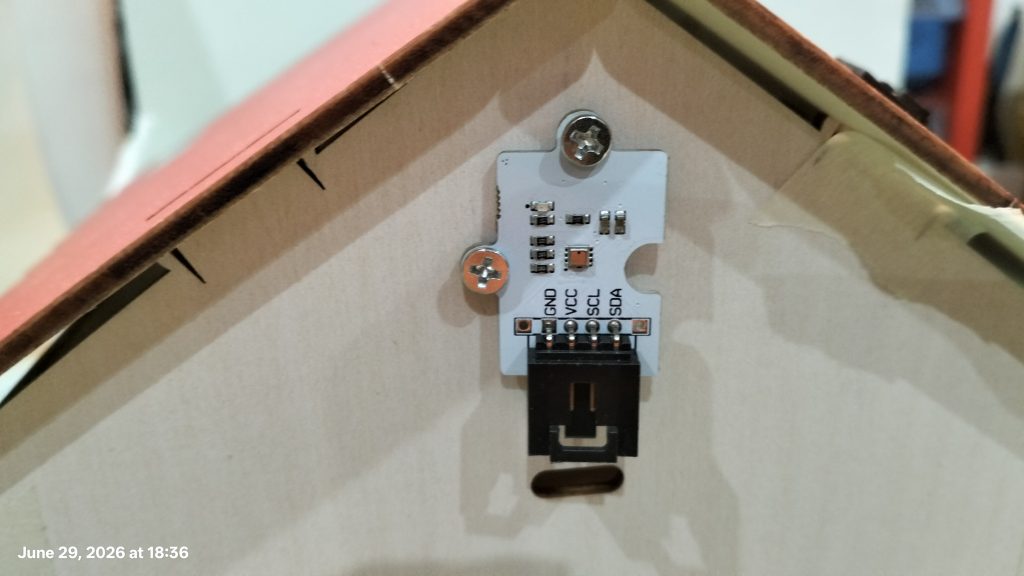
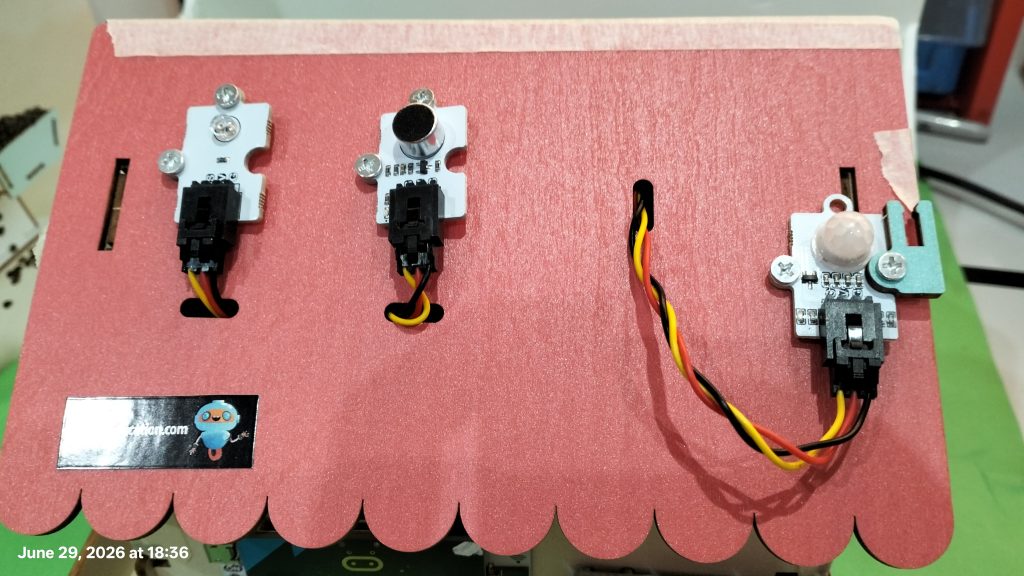
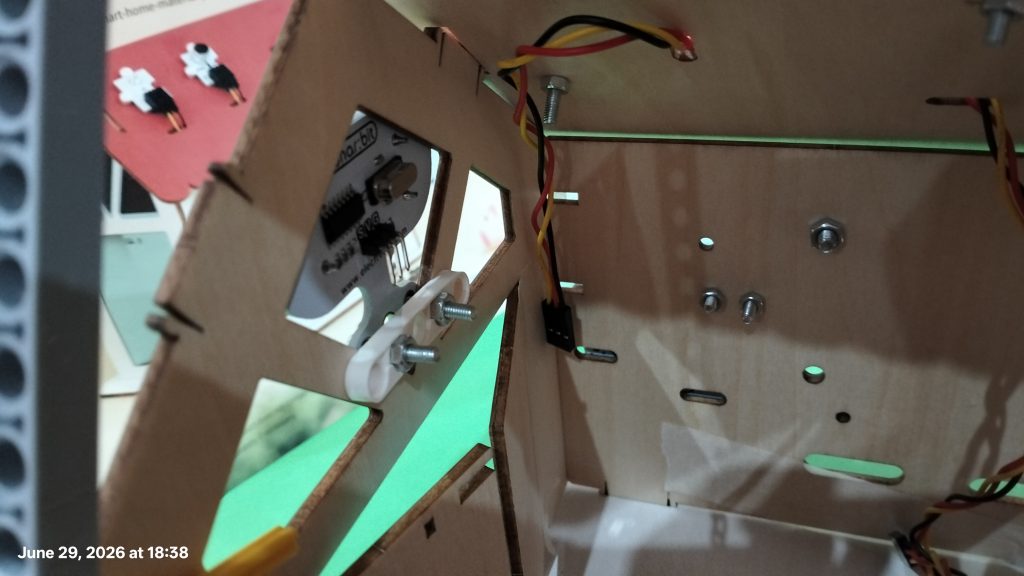
Por otro lado, para fijar los diferentes sensores, he utilizado tornillos M3 (de 3 milímetros de diámetro) y 20 mm de largo (para que se puedan coger bien), con su tuerca. Estos tornillos permiten montar los sensores en la casita y mantenerlos firmes. Se pueden apretar solamente con las manos.
También recomiendo trabajar con los sensores individualmente, sin tenerlos que unir a la casita. Es más facil de manejar y de trabajar con ellos que con todo instalado en la casita.
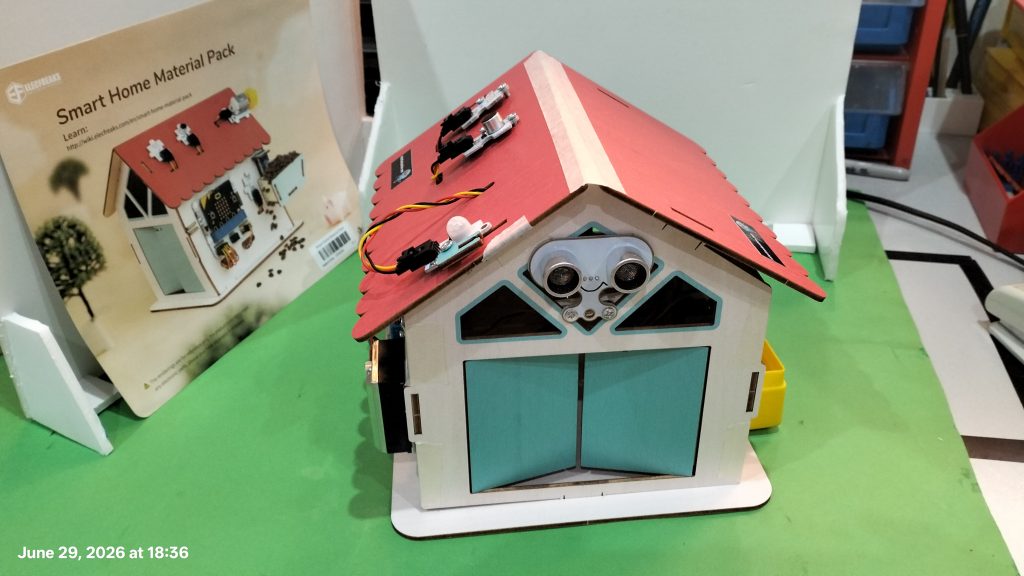
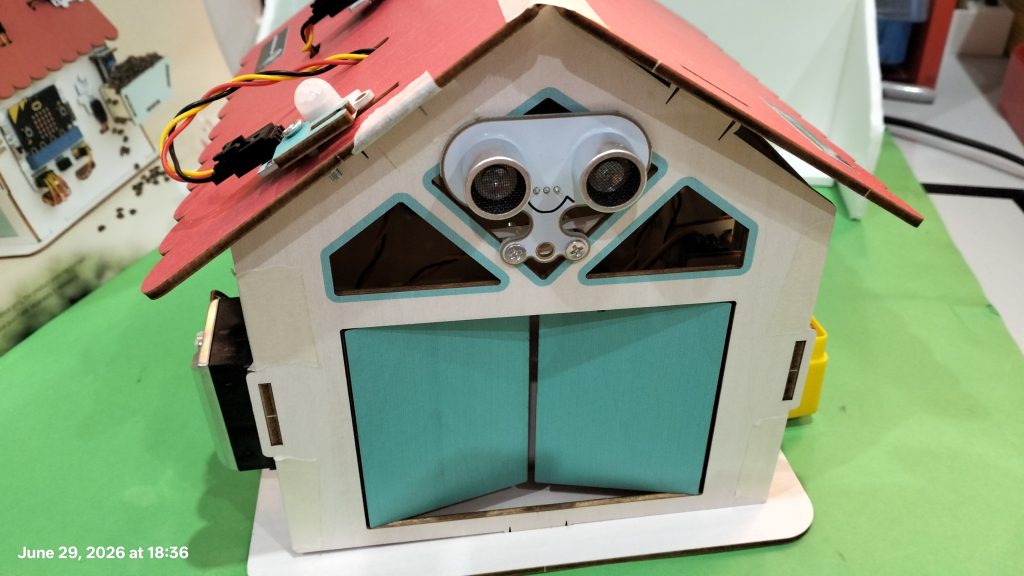
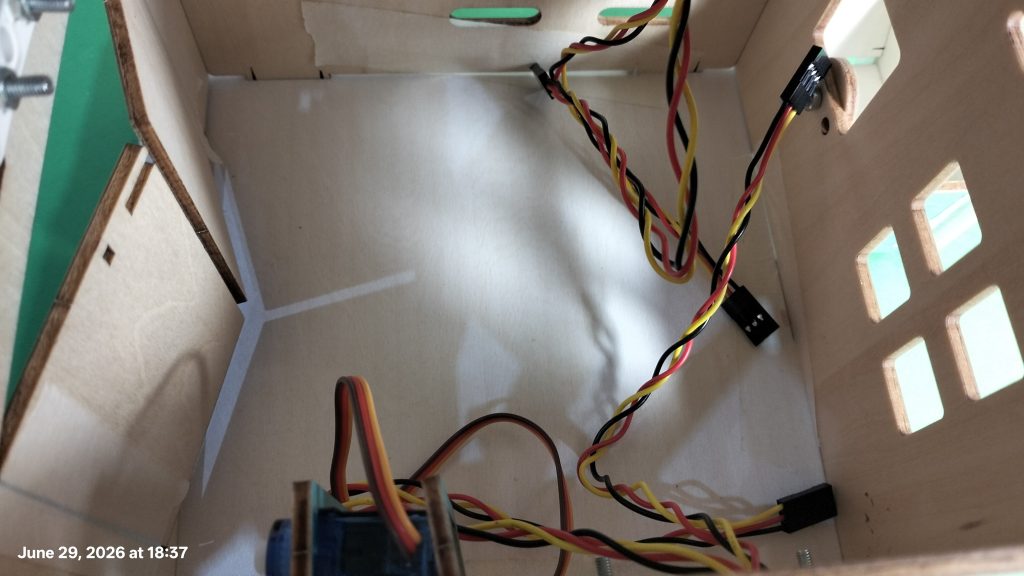
Os dejo aquí una serie de fotografías que os ayudarán en el montaje. En uno de los módulos he usado una pieza que trae el kit como arandela. La idea es aprovechar al máximo los componentes que trae.
El sensor de distancia (ultrasonidos) está agarrado con una media viga del kit de Space Sience.
English
The smart house we received from the Department of Education is a tool that will help us become aware of the number of automated systems and devices that can control a home.
This Smart Home pack comes with the Elecfreaks Smart Home Kit, but the kit we received from the Department isn’t the Smart Home kit, but rather the IoT Smart Science kit. This kit is very good; it even does more, since it can connect to the school’s Wi-Fi and we can transmit the data electronically.
The problem is that the holes in the house don’t “align” with those of the Smart Science IoT kit, but rather with those of the Smart Home kit. So we have to adapt the kit we have to the house. forget following any assembly manual on internet.
On the one hand, I recommend not assembling the house permanently. We might have a complete one as an example or for display, but for the rest, I would make it modular so that the students can assemble and disassemble it hundreds of times. To do this, I secured the panels with masking tape. It holds them in place and can then be easily disassembled.
On the other hand, to attach the different sensors, I used M3 screws (3 mm in diameter) and 20 mm long (for a good grip), with their nuts. These screws allow you to mount the sensors on the housing and keep them secure. They can be tightened by hand.
I also recommend working with the sensors individually, without attaching them to the housing. It’s easier to handle and work with them than with everything installed on the housing.
Here are some photos that will help you with the assembly. On one of the modules, I used a piece from the kit as a washer. The idea is to make the most of the included components.
The distance sensor (ultrasound) is attached with a half-beam from the Space Science kit.